I sew SO many more projects than I ever post here (or on PR), so here's my laundry list for 2010, starting in March when I REALLY got inspired!
66 projects was a lot. I'm really satisfied with my sewing for 2010! I learned a lot (especially on that Chanel jacket!), but as with all things, I'm getting better (and faster!) as I go. Who could ask for more?
Spring 2010: (March – May)
- Chanel jacket: wadder!
- hem speckle pants
- make skirt out of matron dress
- install snaps in straps of stained glass dress
- boob tube for convertible dress
- lt. denim s/s shirt
- S2599 ruffle tank top out of ceruleun blue gauze
- cotton ripstop hiking/biking pants + pockets + cargo pockets (black)
- New Look 6838: boatneck tee in groovie olive/blue fabric
- cotton ripstop hiking/biking pants + pockets + cargo pockets (olive w/lime topstitching)
- white button-down shirt (Vogue 1165) • haven't worn yet
- workout shirts (draft from existing V-neck shirts)
- slips to go under cute skirts: cream
- Wrap dress (McCall's 5974, view C) > cut 14 bust/waist/hip, 3yds @ 60" stretch knit only. May not need zipper (look at other notes in Crafting)
- denim A-line skirt • never worn
- square neck knit top to go with cute skirts solid red + side ruching
- finish adjusting Mitzi's skirt
June–August
- adjust 4 previous self-drafted summer skirts for shorter hemline
- B5386 V-neck sweater
- B5465 sheer red & brown v-neck tunic
- fleece robe (in June! Argh.)
- KS3790 brown rusched top to go with cute skirts
- M6038 drapey red cardi (view B)
- s/s exercise tops (purple, blue green) XL
- M5860 black denim jacket
- padded bike shorts
- sports bra
- ripstop nylon packable grocery bag
- jammies out of wicking fabric for trip (boxers + tank)
- copy black ruched tank
- tan linen palazzo pants
- black linen palazzo pants
- B5465 crinkle cotton v-neck tunic
- (Linda McPhee) cargos (olive green + black)
- black A-line skirt (tie waist, like madras plaids skirt)
- striped v-neck dress (have V8553)
- dk brown linen, lined A-line skirt
- LBD for trip (M6069, view C)
- black travel fabric cross top (+ tunic?) TOSSED!
- stained glass cross top (fit is wonky!)
- security slip w/ two zippered pockets (lost before the trip)
- copy favourite underwear + make 3 pair for trip (perfect lycra scrap project!)
- hostel sheet :: add removeable hidden pocket to stash valuables/eyemask/earplugs (best $12 I ever spent)
- bucket hat with hidden compartment (didn't wear. Scrap project)
- ripstop nylon hidden pocket (Rick Steves' idea. Wore everywhere in Italy)
Fall/Winter (Oct.–Dec.)
- seam blackout curtains
- leopard print pencil skirt (w/lining) :: (cupcake goddess pencil fit tute) LOVE.
- leopard shrug/jacket (CAbi) (S2858)
- Vogue 8580 tunic, View C (like CAbi FW10
- V8151 wrap top in python (still needs bust adjustments)
- Brown LS tunic from La Mia Plus pattern (Sept10) TOO BIG: Off to Mom! (who likes it!)
- red fleece cowlneck
- faux fur stole
- fix winter duvet
- houndstooth winter coat
- V8634 drapey cowl tee peacock knit
- V8634 drapey cowl tee dotty black Italy fabric
- V8413 Joan Dress, View B grey doubleknit :: no lining!
- M6069 Mullet Dress
- Black fleece pants
- Hot pink funnel neck (wadder: off to Kimo)
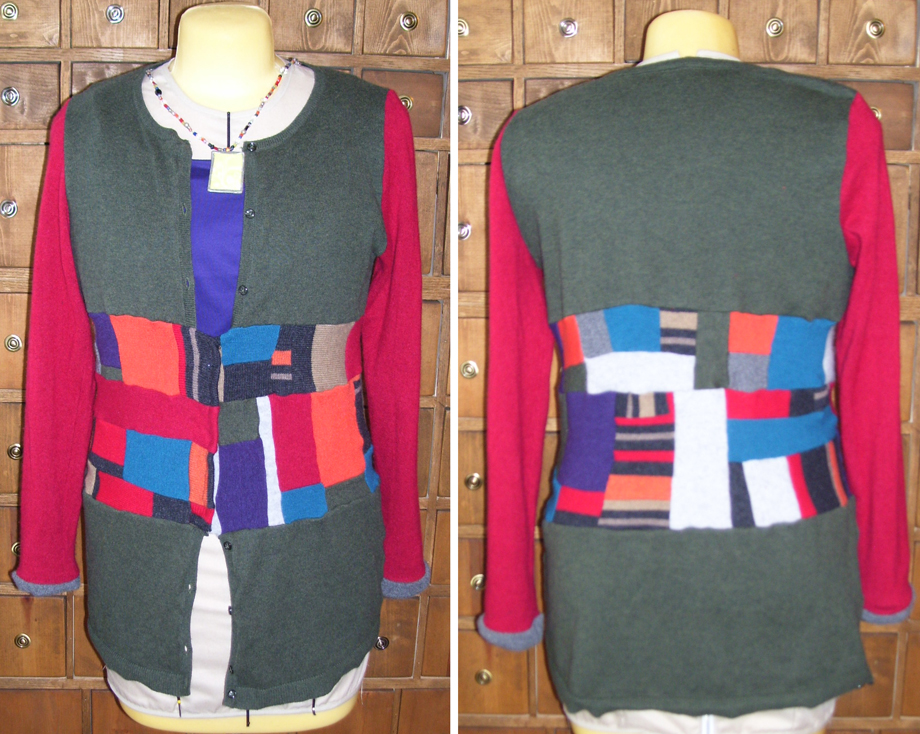
- 1960s retro sweater (cashmere, thrifted sweater surgery)
- M6078 drape top (like Erica B's) in green (make in a better fabric next time!)
- Italy sequin tanktop for NYEve and Sewing Expo (New Look 6838)
- V8634 Italy purple alpaca sweater
- M6104 2 pr. boxers
Onward and upward with 2011 ~ the most creative year is to come!